This should work with most versions of Microsoft IIS, Windows Server 2008 (IIS 7 and IIS 7.5), Windows Server 2012 (IIS 8 and IIS 8.5), Windows Server 2016 and Windows Server 2018 (IIS 10).
Import the .pfx
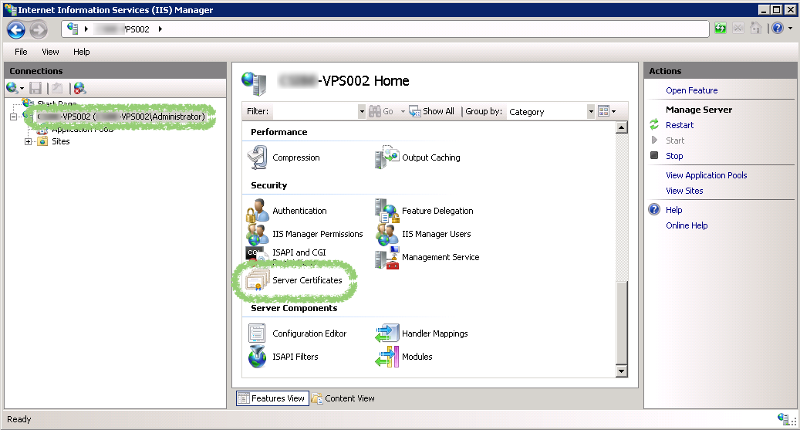
Open the Internet Information Services (IIS) Manager.
1) In the left click on the server name (just below "Start Page").
2) Then in the middle select "Server Certificates" (you might need to scroll down to find this).
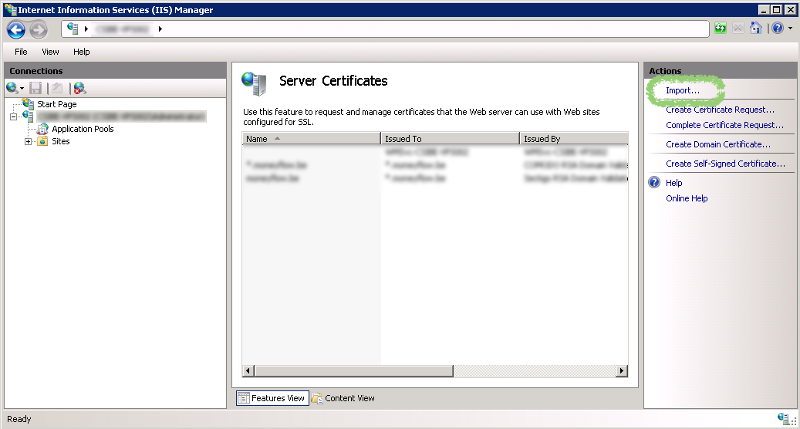
In Server Certificates, click "import"
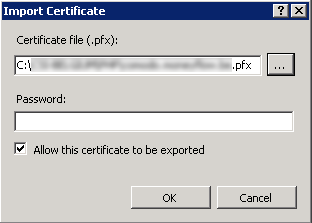
In the pop-up select your .pfx-file and enter het password. Click "OK" to continue
Connecting the certificate to your website
The certificate is now imported to your webserver, but you still need to connect it to your website.
In the left pane of IIS, under "Sites", click on the website to which you want to connect this certificate.
Then in the right pane, click on "Bindings"
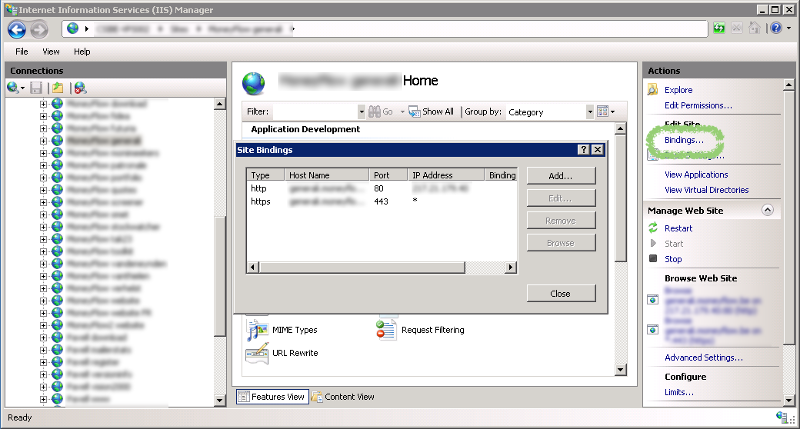
If your website already had a certificate connected to it, you should see a binding "https" on port 443. Select this and click "Edit". You'll then be able to select the newly imported certificate from a drop-down. Click "OK" and "Close" to confirm the changes.
If this is the first time you're connecting a certificate to this website, click "Add...". On the next pop-up select:
Type: https
IP address: select the IP-address for this site or select "All Unassigned"
Port: 443
SSL certificate: select the newly imported certificate. Click "OK" and "Close" to confirm the changes.